

If you’re creating content for YouTube, it’s almost certain that you’ll want to record your screen at some point. Whether you’re displaying statistics, talking through a PowerPoint or slideshow, or just want to walk someone through a step-by-step process using your computer screen, this article is for you.
By the way, if you’re not using YouTube as part of your content marketing strategy yet, read my recent article on why you should be. Video is a massively overlooked opportunity in most businesses’ marketing strategies!
Here’s how to screen record as quickly as possible, and how to turn those recordings into beautiful YouTube videos:
Step #1: Download Loom
There are a variety of screen recording tools out there, but most are overly expensive or very confusing. Loom makes things easy. You simply download their extension, activate the extension using Google Chrome, and use Loom to record videos of your computer screen.
The nice thing about Loom is that you can choose to include a small video of your face in the corner of the recording (for a more personal touch), or choose to simply record the computer screen alone. It’s completely up to you.
Loom’s usefulness goes far beyond screen recording for YouTube videos, by the way. I use Loom all the time to communicate with clients. You’ll find that screen recording is often more efficient than writing out long emails.
Getting started with Loom is free and easy, and you can download it quickly right here.
Step #2: Use Loom to Record Your Screen
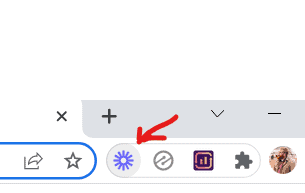
Now that you have Loom installed, simply click the purple icon in the top right corner of your Google Chrome browser to get started:
You’ll be able to choose your settings, and then simply click the big red button to begin recording. Once your recording is finished, it will automatically be saved in Loom’s video library. You can find your library of saved videos by going to www.loom.com/my-videos
Step #3: Download Your Loom
At this point, your Loom is fully recorded. You can even share it with others by sending the link around. But what happens if you want to upload your Loom video to YouTube?
You simply have to download the video file from Loom, then upload it to YouTube.
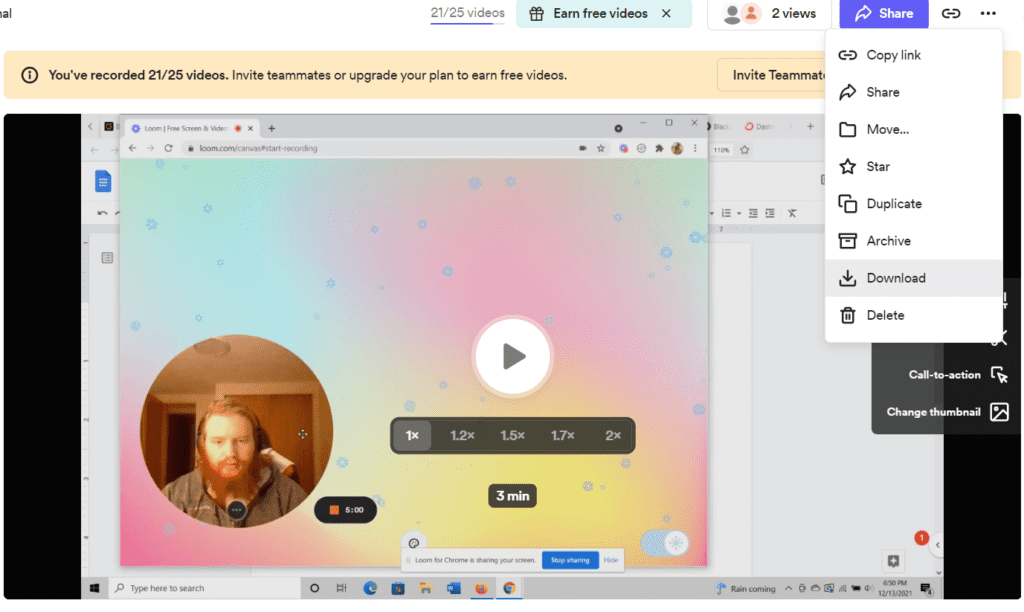
Simply go to the purple “share” butter in the top right corner of your video. Then click download, and download the video file to your computer.
Step #4 – Upload Your Loom Video to YouTube
Congrats, you’ve downloaded your Loom video! Now, all you have to do is upload this video file to YouTube.
To start, just head over to YouTube and make sure you’re logged into your account.
Then, go to the Upload Video button in the top right corner of the page:
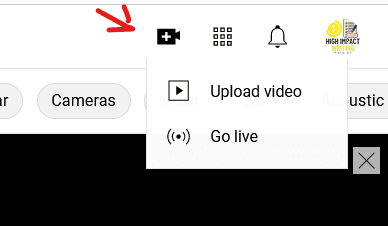
Click “Upload video” and then simply select the Loom file you just downloaded in the last step.
Choose your settings, make your video public (if you want) and you are ready to go! You just screen recorded for YouTube!
To recap, uploading a screen recording to YouTube requires just 4 easy steps:
- Download Loom for Chrome
- Record Your Loom
- Download Your Loom Video
- Upload Your Loom Video to YouTube
I hope that was helpful! Now get out there and record some great content!